Saturday 23 September 2017

Nearing completion

In the last post I was saying how the project was slowed down by a lack of funds. Well the kind people at the insurance company sent me an interim payment so a small amount of that went on buying some last little bits and pieces like the expansion chamber, ignition,new headlight, brake light switches, engine barrel, cylinder head, carburettor and air box cover.


I had a few headaches with the electrics not doing as they were supposed to but eventually found that the problem was down to the rear light fitting connections being rotated 180 degrees. I turned them and the issues were sorted. I still need to check a few things but the engine needs to be running. 


There are still a few little things that need finishing. I need to paint the tank again as the paint has cracked. The original silencer is being used and looks a bit rough so I will be tidying it up and painting it black with heat resistant paint to make it look nice and in keeping with the rest of the bike. I need to make a spacer to drop the mudguard 1.5 inches to clear the exhaust. 


I received a message from Tim Dickson who is a journalist for Practical Sportsbikes Magazine asking if I'd like to have the MT featured in the magazine. The bike wasn't finished but they wanted to put it in as a work in progress, so I agreed. Tim phoned me and asked me a few questions about the restoration. I'm proud to say that you can see it on page 66 of Practical Sportsbikes October 2017 edition. It's a real shame it couldn't have been 3 weeks later as the pictures you are looking at might have been the ones that were in the magazine.

Next time I post will probably be the last time as the project will be complete. I will be uploading a video of it's first breaths and an overall look at the bike.


Thursday 17 August 2017

It Resembles A Bike Again

Moving slowly towards completion.

I'm still chipping away at little jobs but money is still the biggest obstacle. I was made redundant in March due to my knee injury and the kind people at the DWP have offered me zip! So I'm just getting a few bits here and there as I can afford them. It does mean that updates are likely to be few and far between though.

Still there has been progress since I last updated the blog. If you follow the facebook page then you will already have seen the progress but if not I hope you like it.

Firstly I got the front wheel on and bought an Acerbis front mudguard as it's a bit more aggressive looking. However I'm not convinced it will clear the exhaust so I might be returning to the original type.

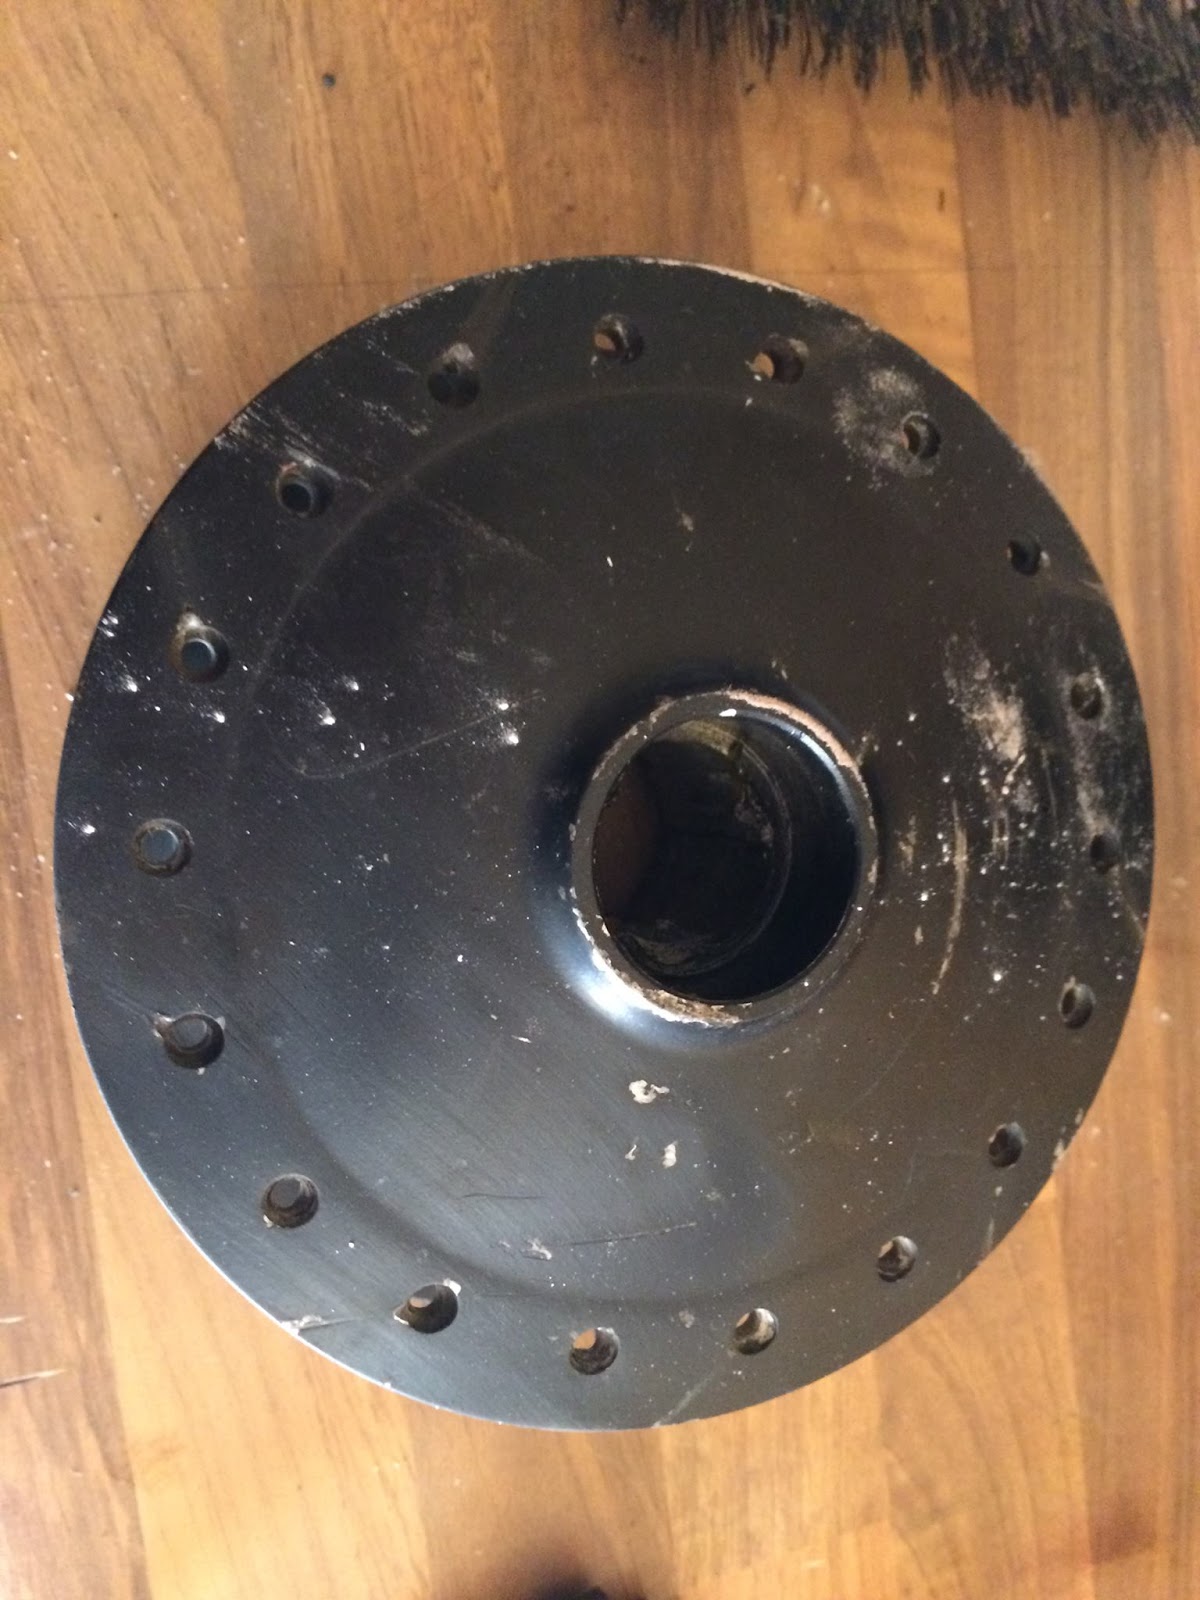
Next stop was the rear wheel and what a jolly time I had trying to wrestle that into place. The paddock stand I have is too wide even on its narrowest setting to be able to keep the bike off the floor, so I was trying to keep the bike up while lining the wheel up and getting the spacers in and then put the spindle through the lot all with a still wonky knee. If it wasn't difficult there would be no fun trying eh?


As you can see the tank is black too but I wasn't happy with the paint as it stayed soft for a very long time after painting and when I spilt some petrol on it it ruined the finish so I'm having to redo it. The back wheel, seat and rear panel are all in place even though the rear panel isn't painted yet. Red low riser bars are in place but I don't think they look right so I'll be going back to high risers at some point. The rear shock are upside down too. After all my work refinishing them I tried to fit them only to find that the reason they were in such bad shape in the first place is because they were bodged to fit and probably hammered into place, so they are just fitted that way to keep the bike up while I do stuff to it.


I have now put the engine into the frame but without the cylinder and head as they are yet to be purchased. The wiring has mostly been connected and a new rear light has been fitted. I ordered stainless steel bolts to mount the engine as I want the bike to look as new as possible for as long as possible.


I had a small headache with the clutch cable today trying to figure out how best to route the cable without it getting pinched in the steering stops or move out on the right side of the bike when the steering is turned to the right. I think the cable is a couple of inches too long which is making thing more difficult. I ended up zip tying the cable to a part of the frame that allows it to move around without looking silly. You can see in the picture above that the front mudguard has a more aggressive look but the bars look too low. The tank is primed and ready for the top coat. I painted the rear panel with some paint from euro car parts (rattle can), and its given a nice finish. I have tested a small area with petrol and it didn't soften run or peel so I'm definitely going to use that stuff on the tank.

Overall I am very happy with it and it's coming along very nicely compared to the old ratty red monstrosity it was just 7 months ago. Now I need the wife to give me some pocket money so I can get it finished. Time to cash in those brownie points!


I was contacted yesterday by a guy called Tim Dickson from Practical Sportsbikes magazine who wanted some details about the bike for an article he's writing. Hopefully my little project will appear in  the next issue.


Thursday 18 May 2017

New Parts and Powdercoat

I've been missing from the blog recently but not from action on the MT50. It's been moving along but at a slower rate than originally anticipated. Money has been the biggest obstacle.

So an update on the progress. The frame, fork lowers, hubs, yokes, rims and brake plates have all been powdercoated. The frame, hub and brake plates all came out very nice but the rims weren't up to the same standard. They were better than the rough chrome beforehand by a long way but I think there must have been some moisture or contaminants under the powder as it had bubbled and looked quite nasty. They can be painted up at a later date to make them right.

As for putting the bike back together I am stuck waiting for a few small bits such as the swingarm bushes which stops me putting the back end on and having it standing so I can carry on the other work. I have rebuilt the wheels and put the forks back together using brand new fork stanchions which I think were a total bargain from JMPB.com. I have done my own thing with the colours as the original design needed something more.


Front hub before blasting

All parts blasted

Some new parts ordered from  JMPB

New stanchions ordered from JMPB

Rear wheel rebuilt after powdercoat

Black frame and white fork lowers.

The contrasting colours are a bold move but I've been looking at mountain bike colours and the contrasting differences between certain parts. It seemed like a good move to update the colours, and although some may not like the change I want the bike to stand out and look a bit different.

The forks have new seals and work beautifully. If you remember what the old stanchions looked like its surprising that the lowers weren't damaged but the new stanchions feel snug and slick. I'm happy with the result of the powdercoat on them as they are smooth and very tidy. The new taper bearings in the headstock are very nice too. As soon as I have the bushes for the swingarm I will be able to put the rear wheel and shocks on then it's onto the engine!


Thursday 23 March 2017

Suspension Renovation

Finally I've got around to removing the rear shocks so I can tidy them up. They were looking pretty sorry as is to be expected (the rest of the bike was so why not these too).


The shock was dismantled using a ratchet strap since I don't have a spring compressor. It worked but was a bit of a hassle. the top cups were mis-shapen and dented so I used an old large socket wrench as an anvil to reshape the cap.


As you can see, pretty beaten up. I hammered them into shape and fixed a split in the top of one of them. 


Colour choice was dictated by the colour of the bike, so black and red were in there but as an extra bit of flair I did the spring in white to contrast with the main black colour. The damper is now black and the cap is red. I think they turned out really well and they're a huge improvement over the original rusted patina.


Next job will probably be the forks. Who knows what delights I'll find in there.

Saturday 18 March 2017

Alloy Repair & More Paint

The generator/flywheel cover had a crack around one of the bolt holes which was likely to let water and grime in so it needed repairing. Unfortunately there aren't any engineering firms local to me so another course of action was needed. I was given the brand name Lumiweld, but after reading up on it I was lead to believe that Durafix was a superior product. The crack was almost complete and would have ruined the usefulness of the case.


The Durafix system is very much in between soldering and brazing. The item needs to be heated and then the stick of alloy needs to be presented to the metal, not the flame. Only once the metal is hot enough will the Durafix rod melt and fill in the area required.


Once the rod has been presented and filled the area required there is likely to be an over fill (forgot to photograph), this will need to be dressed to bring it back to its former glory. It can take a while to get the finish right but it's well worth taking the time to get it perfect so that any finish looks good.


As you can see the repair would be unrecognisable if you didn't know it was there. I used a die grinder with milling bits which did a great job, small files and some 400 sand paper to bring it back to an acceptable finish which looks fine under paint. The filler can be quite hard compared to the surrounding metal (strange as the melting point is much lower) so filing is tough going. I can't comment on how structural it is but I've seen video that shows someone trying to twist and rip two pieces of aluminium apart and it took quite some effort so I'm hoping it keeps the cover together.


I'm very happy with the finish on this cover and apart from a few dust specks to the rear of the cover it's perfect. I'll sort the dust out in a few days when the lacquer has cured fully.

Wednesday 15 March 2017

Tank Prep

Another job that has been nagging me to be done was the fuel tank. It wasn't the tidiest of tanks and needed a fair bit of TLC.

First I tried sitting it on the frame to make sure it was right. Good job I did, the tank had obviously been on a bike that had been involved in some sort of collision. The rear of the tank where the seat sits on it had been dented and creased, and the underneath of the tank had been pushed down and was now interfering with the frame. This had also caused the sides of the tank to bow out. I was a bit gutted as it wasn't something I was expecting, but I got on with it and started hitting it with a couple of hammers. I had the original tank laying around so I used it as a template to compare size and shape.


After beating the shit out of it for a while I needed to fill the dents I'd made, and there were a few of them to fill. 


 I have put a layer of primer on it just to stop it rusting while I get on with the engine but I'll update on it soon.

Engine Rebuild (the beginning)

Decided to bite the bullet and get on with the main job, THE ENGINE.

first job was stripping the donor ready to transfer the innards to the original cases. There were a few problems.


Firstly there were a couple of sheered bolts in the cases so they needed extracting.

Secondly, the previous owner of the donor engine had (in their immense wisdom) welded the sprocket to the counter shaft and made quite a meal of it. The problem here is I don't own an angle grinder or a dremmel, so I had to settle for an air powered die grinder but the compressor can't handle than much air so I had to wait every few minutes for the compressor to fill. After 2 hours of patience and grinding the sprocket finally came off.


Third problem was the lack of correct bearings. I had been given a link to a forum where someone had very helpfully listed the bearings needed for the engine but they had listed 2 6203 bearings in stead of the proper 6303 bearings, so 2 new 6303 C3 bearings have been ordered and should hopefully be here tomorrow so I can then close the engine cases and get the clutch back on ready to test the gears before bolting the whole thing together.

Exciting times.


Took both cranks to the local bike shop "Woods Motorcycles" who confirmed the donor crank had play in the big end. Not good, but on the upside that rusty wreck of a crank that came with the bike was spot on so I have cleaned it up and it's fine. The other crank will be sent to be rebuilt and will be saved for a future rebuild.

The donor cases will soon be getting the soda treatment and then I'm going to try and get my money back on eBay.

Friday 10 March 2017

First Paint

Over the last couple of days I've been getting back into the project after building my new workshop so the first thing to do was finish cleaning the engine cases in the blasting cabinet. I'm quite happy with the results using just Sodium Bicarbonate (and a little bit of elbow grease).


I managed to miss a few spots but got them with a scotch brite pad and sandpaper. 

The new paint is still tacky so the engine build will have to wait for that to dry but should be ready for the day after tomorrow. Here are a few pics of the main cases and right engine cover with fresh paint.


Before blasting.


After blasting


After paint


Now I've never built the internals of an engine/gearbox before so I'm a bit nervous about it but I have a Haynes manual and the local bike shop is just down the road. I'd like to complete it myself though.